Ever wished you could access your Raspberry Pi from anywhere in the world, as if it were right next to you? The dream of seamless remote access to your Raspberry Pi is now a reality, thanks to tools like remote.it.
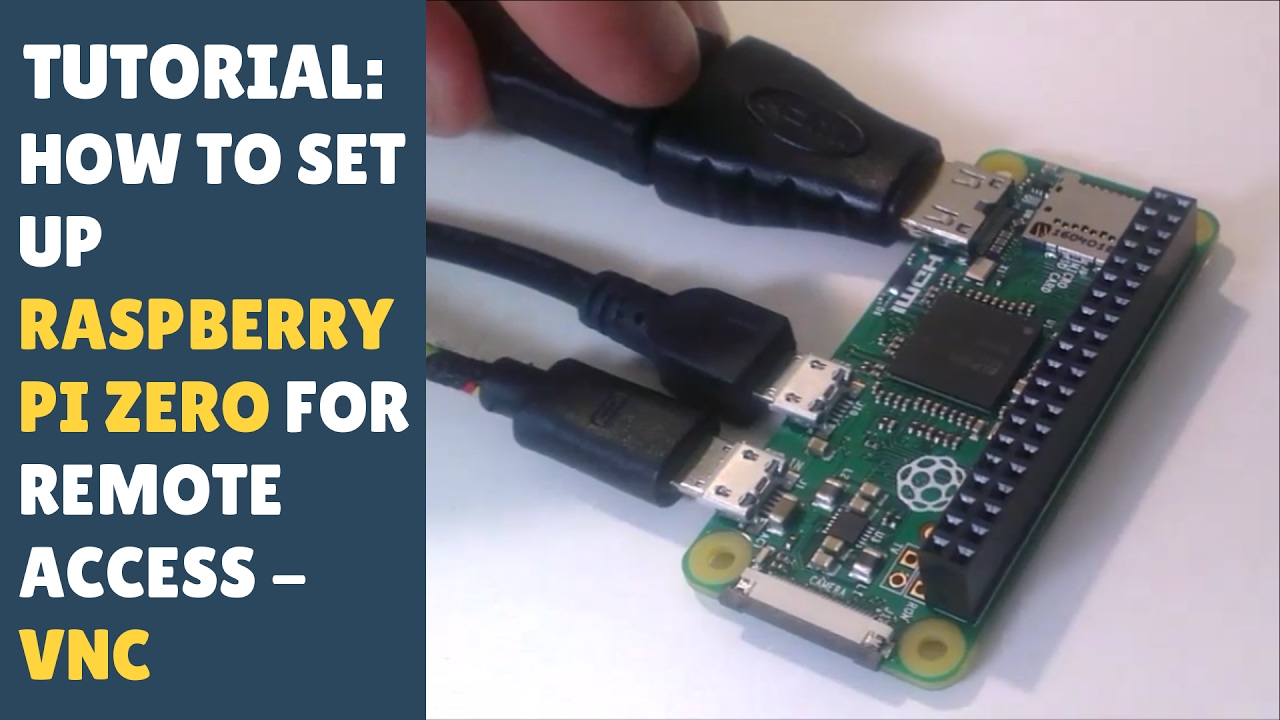
The Raspberry Pi, a marvel of miniaturized computing, has become the go-to platform for hobbyists, developers, and educators alike. Its versatility is undeniable, capable of powering everything from smart home hubs to sophisticated robotics projects. However, the true potential of a Raspberry Pi is often limited by the challenge of accessing it remotely. Imagine being able to debug code, deploy updates, or even run complex simulations on your Raspberry Pi without being tethered to a local network. This is where solutions like remote.it step in, offering a streamlined approach to secure and reliable remote access.
| Category | Information |
|---|---|
| Name | Raspberry Pi (General Concept) |
| Type | Single-board computer |
| Primary Use | Various, including education, hobby projects, IoT devices, and more. |
| Remote Access Solutions | remote.it, SSH, VNC, Tailscale, Twingate, Raspberry Pi Connect |
| Operating Systems | Raspberry Pi OS (formerly Raspbian), Ubuntu, other Linux distributions |
| Key Features | Low cost, small size, versatility, community support |
| Website | raspberrypi.org |
Setting up remote access to your Raspberry Pi doesn't have to be a daunting task. In fact, with the right tools and a few simple steps, you can unlock a world of possibilities. Let's explore how to leverage remote.it to achieve this, along with other alternative methods and considerations.
- Aaron Pierre Bio Family Career The Rising Star You Need To Know
- Camila Araujo Erome Pics Vids The Latest Leaks Updates
The first step is to install the remote.it agent on your Raspberry Pi. This lightweight agent acts as a bridge between your device and the remote.it cloud service, enabling secure and authenticated connections. Before you begin, make sure your Raspberry Pi is connected to the internet. You can then proceed to install the agent via the command line, using an installation package specifically designed for Raspberry Pi. This process typically involves downloading the package, extracting its contents, and running an installation script.
Once the agent is installed, the remote.it web portal will notify you that your Raspberry Pi has been registered. The portal automatically detects and sets up remote.it SSH access and VNC (Virtual Network Computing) if enabled on your Raspberry Pi. This is a huge time-saver, as it eliminates the need for manual configuration of firewalls and port forwarding rules.
If you have additional services or ports you'd like to add, simply click the "+" (add service) button on the device detail page within the remote.it web portal. It's crucial to ensure that the service you're adding is actually running on your Raspberry Pi before attempting to configure remote access. For instance, if you want to remotely access a web server running on port 80, make sure the web server is up and operational.
- Jackerman 3d Animation Insights Challenges Teamwork
- Ai Clothes Remover Privacy Risks Ethical Concerns
Another method for accessing your Raspberry Pi remotely involves installing xrdp, a free and open-source implementation of the Remote Desktop Protocol (RDP). This package allows you to establish a graphical remote desktop connection to your Raspberry Pi from a Windows, Mac, or Linux computer. To install xrdp, you can use the package manager apt, which is a standard tool for managing software packages on Debian-based systems like Raspberry Pi OS.
After the installation is complete, the xrdp daemon starts automatically, listening for incoming RDP connections. You can then use an RDP client on your remote computer to connect to your Raspberry Pi, providing your username and password when prompted. This allows you to interact with the Raspberry Pi's desktop environment as if you were physically sitting in front of it.
For those seeking a more streamlined and secure remote access solution, Tailscale offers a compelling alternative. Tailscale creates a virtual private network (VPN) that connects your devices together, regardless of their location. This eliminates the need for complex VPN configurations and port forwarding rules, making it easy to access your Raspberry Pi from anywhere in the world.
Installing Tailscale on your Raspberry Pi is a straightforward process. You can download and install the Tailscale client using the command line, and then authenticate your device with your Tailscale account. Once connected, your Raspberry Pi will be assigned a unique IP address within the Tailscale network, allowing you to access it using this address from any other device on the network.
Twingate provides another robust solution for secure remote access to your Raspberry Pi. Similar to Tailscale, Twingate creates a secure, zero-trust network that allows you to connect to your devices without exposing them to the public internet. This significantly reduces the risk of security breaches and unauthorized access.
To set up Twingate, you'll need to install the Twingate client on both your Raspberry Pi and the device you'll be using to access it remotely. The Twingate client establishes a secure connection to the Twingate network, allowing you to access your Raspberry Pi's services and applications as if they were running locally.
The Raspberry Pi Foundation has also introduced its own solution for simplifying and securing remote access to Raspberry Pi devices: Raspberry Pi Connect. This service aims to provide a seamless and user-friendly way to connect to your Raspberry Pi from anywhere, without the need for complex configurations or third-party software.
To use Raspberry Pi Connect, you'll need to enable the service on your Raspberry Pi and then sign in using your Raspberry Pi account. Once connected, you'll be able to access your Raspberry Pi's desktop environment and command line interface from a web browser or dedicated client application.
When choosing a remote access solution for your Raspberry Pi, it's important to consider your specific needs and requirements. Factors to consider include security, ease of use, performance, and cost. Some solutions, like remote.it, offer free tiers for personal use, while others, like Tailscale and Twingate, offer subscription-based plans with additional features and support.
Regardless of the method you choose, it's crucial to prioritize security when setting up remote access to your Raspberry Pi. This includes using strong passwords, enabling two-factor authentication, and keeping your software up to date. You should also be aware of the potential risks associated with exposing your Raspberry Pi to the internet and take steps to mitigate these risks.
In addition to the software-based solutions discussed above, there are also hardware-based options for remote access to your Raspberry Pi. For example, you can use a USB-over-IP device to remotely access the USB ports on your Raspberry Pi, allowing you to connect and control USB devices as if they were physically attached to your computer.
Another option is to use a KVM-over-IP device, which allows you to remotely access the keyboard, video, and mouse signals of your Raspberry Pi. This can be useful for troubleshooting issues or performing tasks that require direct access to the Raspberry Pi's hardware.
Remote access to your Raspberry Pi opens up a world of possibilities, allowing you to leverage its computing power and versatility from anywhere in the world. Whether you're a developer, hobbyist, or educator, having the ability to remotely access your Raspberry Pi can significantly enhance your productivity and creativity.
Before connecting your Raspberry Pi, it's essential to create an account on the remote.it website. This process is typically quick and free, requiring you to provide basic information such as your email address and a password. Once your account is created, you can proceed to install the remote.it agent on your Raspberry Pi.
To install the remote.it service, you'll need to open a terminal on your Raspberry Pi. You can do this either by connecting a monitor, keyboard, and mouse directly to the Raspberry Pi, or by accessing it remotely via SSH (Secure Shell) on your local network. Once you have a terminal open, you can use the appropriate commands to download and install the remote.it agent package.
After the installation is complete, the remote.it agent will automatically register your Raspberry Pi with the remote.it service. You'll then be able to access your Raspberry Pi from the remote.it web portal or desktop application, allowing you to connect to it remotely and manage its services.
In some cases, you may need to reinstall the operating system on your Raspberry Pi remotely. This can be a challenging task, but it's possible to achieve with the right tools and techniques. One approach is to use PXE (Preboot Execution Environment) booting, which allows you to boot your Raspberry Pi from a network server.
PXE booting requires configuring a DHCP (Dynamic Host Configuration Protocol) server on your network to provide the Raspberry Pi with the necessary boot information. You'll also need to set up a TFTP (Trivial File Transfer Protocol) server to serve the operating system image to the Raspberry Pi. This process can be complex and requires a good understanding of networking protocols.
Another option for reinstalling the operating system remotely is to use the Raspberry Pi Imager tool. This tool allows you to create a bootable SD card with the desired operating system image. You can then insert the SD card into your Raspberry Pi and power it on, which will automatically install the operating system.
To use the Raspberry Pi Imager tool remotely, you'll need to have a way to physically access the Raspberry Pi's SD card slot. This may involve using a remote-controlled robot or other device to insert and remove the SD card. Alternatively, you can use a USB-over-IP device to remotely access the Raspberry Pi's USB ports, allowing you to connect an SD card reader and install the operating system image.
Once you have a remote desktop connection established, you can display remote X clients directly on your Windows desktop without running a remote display manager. This can free up resources on your Raspberry Pi and improve performance. To do this, you can use an X server for Windows, such as Xming or VcXsrv.
After installing the X server on your Windows computer, you'll need to configure it to accept incoming connections from your Raspberry Pi. You'll also need to configure your Raspberry Pi to forward X11 connections to your Windows computer. This can be done by setting the DISPLAY environment variable to the IP address of your Windows computer and the display number (usually 0).
Once everything is configured correctly, you can run X applications on your Raspberry Pi and have them displayed on your Windows desktop. This can be useful for running graphical applications that require a lot of processing power or memory.
Another important aspect of remote access to your Raspberry Pi is security. It's essential to take steps to protect your Raspberry Pi from unauthorized access and malicious attacks. This includes using strong passwords, enabling two-factor authentication, and keeping your software up to date.
You should also consider using a firewall to restrict access to your Raspberry Pi's services and ports. A firewall can help to prevent unauthorized connections from the internet and protect your Raspberry Pi from potential attacks.
In addition to these security measures, it's also important to be aware of the potential risks associated with exposing your Raspberry Pi to the internet. This includes the risk of being hacked, having your data stolen, or being used as part of a botnet.
To mitigate these risks, you should consider using a VPN (Virtual Private Network) to encrypt your traffic and hide your IP address. A VPN can help to protect your privacy and security when accessing your Raspberry Pi remotely.
Remote control of your Raspberry Pi from Windows is a common scenario, and there are several tools and techniques available to achieve this. In addition to the methods discussed above, you can also use tools like PuTTY and WinSCP to access your Raspberry Pi's command line interface and transfer files securely.
PuTTY is a free SSH client for Windows that allows you to connect to your Raspberry Pi's command line interface securely. WinSCP is a free SFTP (Secure File Transfer Protocol) client for Windows that allows you to transfer files between your Windows computer and your Raspberry Pi.
These tools can be invaluable for managing your Raspberry Pi remotely and performing tasks that require access to the command line or file system.
Right now, only the Raspberry Pi 3 can do a PXE boot via DHCP, but that is in beta right now and using beta firmware. That means that the Raspberry Pi 3 will pull the operating system off a server. That is the only other way right now besides being at the Pi itself and installing a new OS to the SD card.
When the installation is complete, the xrdp daemon starts automatically. All thats left to do now is to install Twingate on your device (we support Windows, Mac, Linux and have apps for iOS and Android) and access your Raspberry Pi + Home Assistant. As an example, lets walk through setting up the Twingate client on iOS.
Insert the card into a computer and head to the installation page. Scroll down to Install Raspberry Pi OS using Raspberry Pi Imager and choose your device (Windows, Mac OS, Ubuntu for x86). Once the imager opens, choose your Raspberry device, OS (Raspberry Pi OS), and storage or installation device (SD card).
Here is an example Xlaunch file to display Midori for Raspbian Jessie using Plink. All that remains is the exploration of these powerful tools and the adaptation of their capabilities to suit your unique Raspberry Pi projects.
- Desi49 The Rise Of A Digital Culture Icon Exploring Now
- What Is Max Streaming Plans Devices More About Webmaxhd